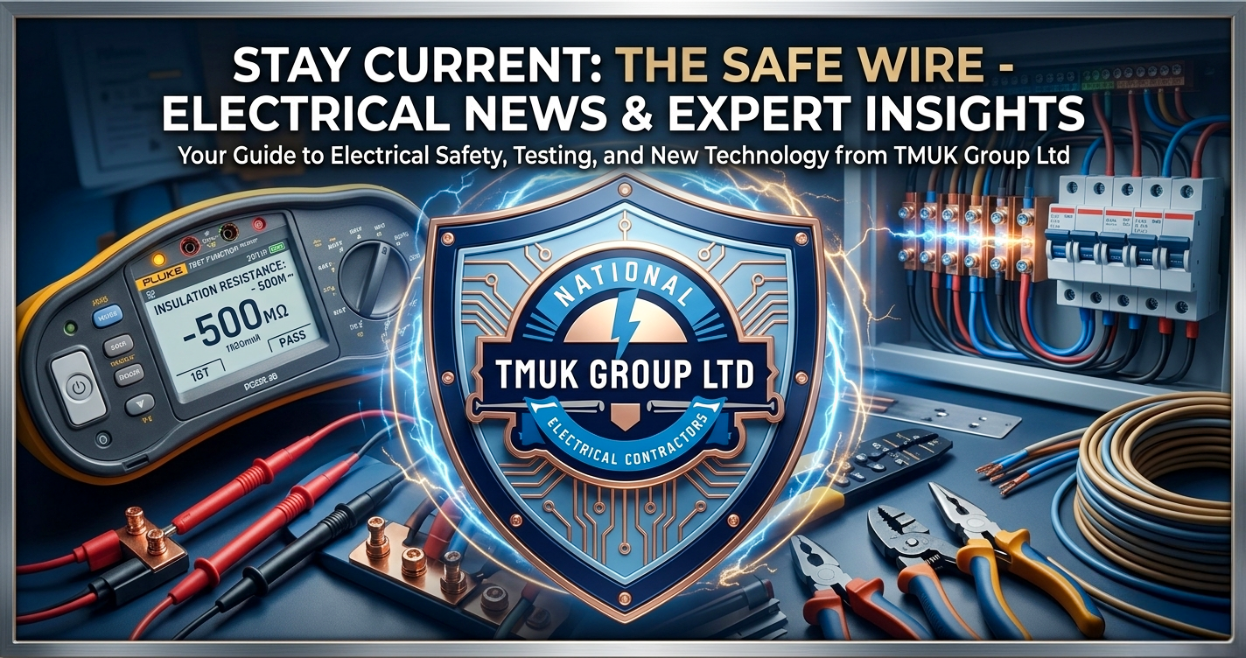
How to Conduct a Safe Electrical Installation
How to Conduct a Safe Electrical Installation
Electrical installations are a critical aspect of modern infrastructure, ensuring that homes, businesses, and public spaces have the power they need to function efficiently. However, conducting a safe electrical installation requires meticulous planning, adherence to safety standards, and a thorough understanding of electrical systems. This article provides a comprehensive guide on how to conduct a safe electrical installation, covering essential steps, safety measures, and best practices.
Understanding the Basics of Electrical Installation
Before diving into the specifics of conducting a safe electrical installation, it is crucial to understand the basic components and principles involved. Electrical installations typically include wiring, circuit breakers, outlets, switches, and various electrical devices. The primary goal is to ensure that electricity is distributed safely and efficiently throughout a building.
Key Components of Electrical Systems
- Wiring: The network of wires that carry electrical current from the power source to various outlets and devices.
- Circuit Breakers: Safety devices that automatically shut off the electrical supply in case of an overload or short circuit.
- Outlets and Switches: Points of access for electrical devices and control mechanisms for turning power on and off.
- Electrical Panels: Central hubs that distribute electricity to different circuits within a building.
Planning the Electrical Installation
Proper planning is the foundation of a safe electrical installation. This phase involves assessing the electrical needs of the building, designing the layout of the electrical system, and obtaining necessary permits and approvals.
Assessing Electrical Needs
Begin by determining the electrical requirements of the building. Consider the following factors:
- Load Calculation: Calculate the total electrical load by adding up the wattage of all devices and appliances that will be used.
- Future Expansion: Plan for potential future electrical needs to avoid overloading the system later.
- Special Requirements: Identify any special electrical needs, such as dedicated circuits for high-power appliances or sensitive equipment.
Designing the Electrical Layout
Once the electrical needs are assessed, design a detailed layout of the electrical system. This includes:
- Wiring Diagram: Create a wiring diagram that shows the path of all electrical wires and their connections to outlets, switches, and devices.
- Circuit Distribution: Plan the distribution of circuits to ensure balanced load and prevent overloading.
- Safety Features: Incorporate safety features such as ground fault circuit interrupters (GFCIs) and arc fault circuit interrupters (AFCIs).
Obtaining Permits and Approvals
Before starting the installation, obtain the necessary permits and approvals from local authorities. This ensures that the installation complies with building codes and safety regulations.
Executing the Electrical Installation
With a solid plan in place, the next step is to execute the electrical installation. This phase involves installing wiring, connecting devices, and testing the system to ensure safety and functionality.
Installing Wiring
Follow these steps to install wiring safely:
- Turn Off Power: Ensure that the power supply is turned off before starting any electrical work.
- Use Proper Tools: Use appropriate tools and equipment, such as wire strippers, pliers, and voltage testers.
- Follow Wiring Diagram: Adhere to the wiring diagram created during the planning phase to ensure accurate connections.
- Secure Wiring: Use cable clamps and conduits to secure wiring and prevent damage.
- Label Wires: Label wires to identify their purpose and connections easily.
Connecting Devices
After installing the wiring, connect electrical devices such as outlets, switches, and fixtures. Ensure that:
- Proper Connections: Make secure and correct connections to prevent loose wires and potential hazards.
- Grounding: Properly ground all devices to prevent electrical shocks.
- Testing: Test each connection with a voltage tester to ensure proper functionality.
Testing and Inspection
Once the installation is complete, conduct thorough testing and inspection to ensure safety and compliance with regulations:
- Continuity Testing: Use a continuity tester to check for breaks in the wiring.
- Insulation Resistance Testing: Test the insulation resistance to ensure that wires are properly insulated.
- Load Testing: Test the system under load to ensure it can handle the expected electrical demand.
- Professional Inspection: Have a licensed electrician inspect the installation to verify compliance with safety standards.
Safety Measures and Best Practices
Ensuring safety during electrical installation is paramount. Adhere to the following safety measures and best practices to minimize risks:
Personal Protective Equipment (PPE)
Always wear appropriate PPE, including:
- Insulated Gloves: Protect hands from electrical shocks.
- Safety Glasses: Shield eyes from sparks and debris.
- Non-Conductive Footwear: Prevent electrical grounding through the body.
Adherence to Codes and Standards
Follow local building codes and national electrical standards, such as the National Electrical Code (NEC) in the United States. These codes provide guidelines for safe electrical installations.
Regular Maintenance
Conduct regular maintenance to ensure the longevity and safety of the electrical system. This includes:
- Periodic Inspections: Schedule regular inspections by a licensed electrician.
- Cleaning: Keep electrical panels and devices clean and free from dust and debris.
- Upgrades: Upgrade outdated components to meet current safety standards.
Case Studies and Examples
To illustrate the importance of safe electrical installations, consider the following case studies:
Case Study 1: Residential Electrical Fire
In 2018, a residential electrical fire in California resulted in